

Combining the default and tagged approaches#
This approach is for units under test that have data of their own and also share a data source that runs across many tests.
For example, during flight tests each vehicle’s recorder logs its own data, while a ground station runs all day as several vehicles fly. Each vehicle keeps its own asset and dataset, as in the default approach. The ground station writes to one dataset and tags each point with the vehicle it’s testing, as in the tagged approach, so its software only needs the ID of the vehicle under test, not each vehicle’s dataset. Its history also stays in one place, for monitoring the ground station itself.
Implementing this approach#
Each unit’s asset links its own dataset under the ref name default, and the shared dataset under a ref name for the source, such as station, filtered to that unit’s tag. Use the same ref names on every unit, so one workbook or template works on all of them.
        ---
config:
  layout: elk

---
flowchart BT
    classDef green fill:#dcfce7,stroke:#15803d,color:#1f2937
    classDef purple fill:#e0e7ff,stroke:#4338ca,color:#1f2937
    classDef darkgreen fill:#bbf7d0,stroke:#15803d,color:#1f2937

    uut1data[("Dataset<br>UUT1")]:::purple
    uut1["Asset: UUT1"]:::green
    uut1data -->|"ref name=default"| uut1

    uut2data[("Dataset<br>UUT2")]:::purple
    uut2["Asset: UUT2"]:::green
    uut2data -->|"ref name=default"| uut2

    subgraph stationData["Dataset: Station"]
        s1["UUT=UUT1<br>09:00:00 · 12.1<br>..."]:::purple
        s2["UUT=UUT2<br>13:30:00 · 11.8<br>..."]:::purple
    end
    style stationData fill:#f5f7ff,stroke:#4338ca,color:#1f2937

    stationData -->|"ref name=station<br>filter UUT=UUT1"| uut1
    stationData -->|"ref name=station<br>filter UUT=UUT2"| uut2

    station["Asset: Station"]:::darkgreen
    stationData -->|"ref name=default<br>no filter"| station

    click uut1,uut2,station href "../../#asset" "Asset"
    click uut1data,uut2data,stationData,s1,s2 href "../../#time-series-data" "Time-series data"
The tag filter is part of the asset’s link to the shared dataset, so each unit’s asset sees only its own part of the station’s data, and its own dataset is never filtered. A workbook on a unit’s asset shows both, with no tag filter in the workbook.
In the app#
Give each unit an asset with a dataset of its own:
In the sidebar, click Assets, then NEW ASSET.
Give the asset a title, and add Labels and properties (Add property) that describe the unit.
Under Data sources, click ADD DATA SOURCE, then New dataset, or pick an existing dataset.
Under Refname, type
default, the same on every unit, and click Create “default”.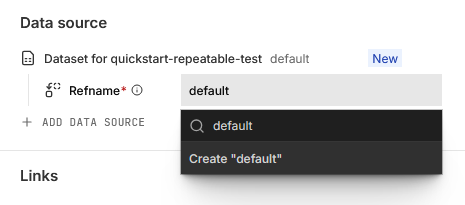
Click CREATE ASSET and then View asset in the notification.
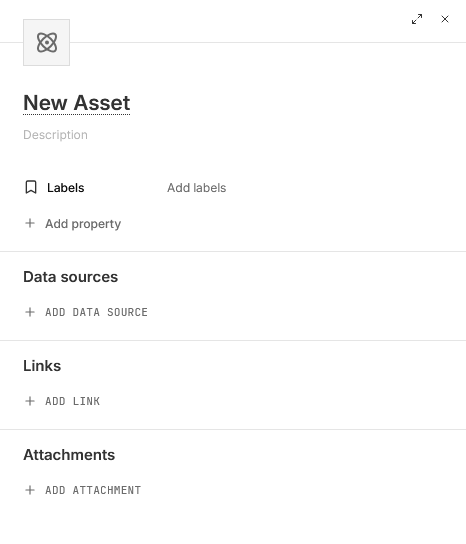
Then attach the shared dataset to each unit’s asset under a ref name such as station, filtered to that unit’s tag:
Open the asset. If its properties panel is hidden, open it with the panel icon at the top right, beside NEW WORKBOOK. Find the Data source section.
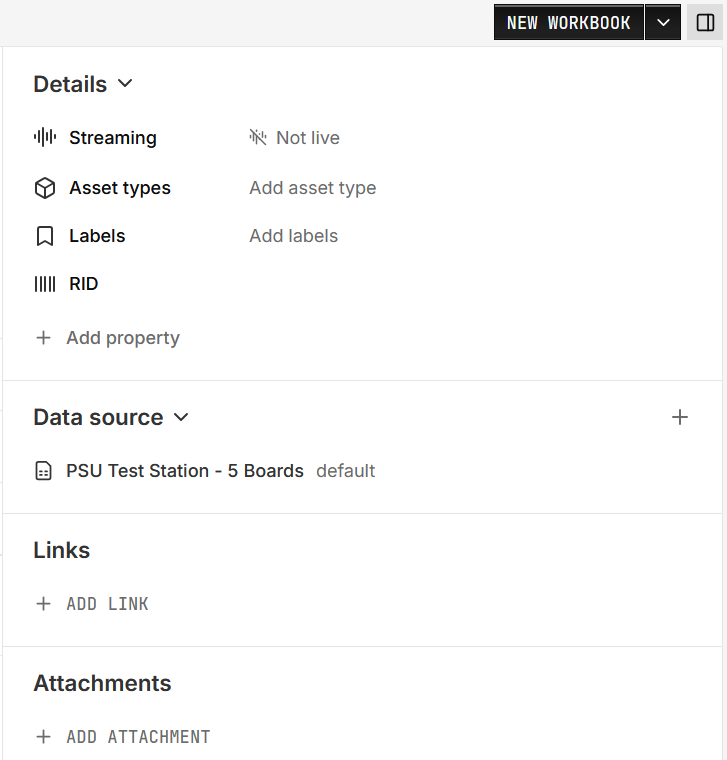
Click + (Add data source) and pick the dataset. If the asset has no data sources yet, click ADD DATA SOURCE instead.
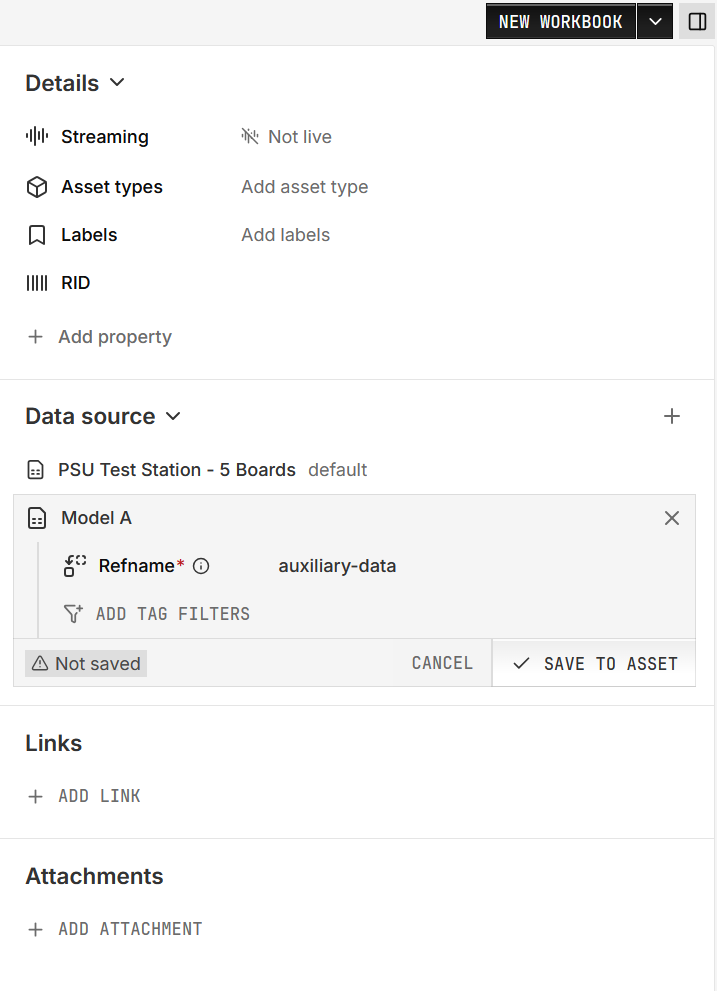
Under Refname, choose or create a ref name.
To attach only part of a shared dataset, click ADD TAG FILTERS, choose the tag key, then click its value and pick the value.
Click SAVE TO ASSET.
In code#
In Python, give each unit its own dataset and a filtered link to the station’s dataset, then write to both:
from nominal.core import NominalClient

client = NominalClient.from_profile("default")
station = client.get_dataset("<ri.catalog.instance.dataset.identifier>")  # the station's dataset

unit_datasets = {}
for uut in ["UUT1", "UUT2"]:
    asset = client.create_asset(uut)
    unit_datasets[uut] = asset.get_or_create_dataset("default", name=uut)  # the unit's own data
    asset.add_dataset("station", station, series_tags={"UUT": uut})  # tag filter: only this unit's points

# The tag decides which unit sees the point: this one appears on UUT1 only
with station.get_write_stream() as stream:
    stream.enqueue("voltage", "2026-01-01T12:00:00Z", 12.1, tags={"UUT": "UUT1"})

# A unit's own dataset needs no tags: every point in it belongs to UUT1
with unit_datasets["UUT1"].get_write_stream() as stream:
    stream.enqueue("temperature", "2026-01-01T12:00:00Z", 41.5)
In Rust, MATLAB, and Go, the tagged approach’s code sets up the same filtered link. Use a ref name for the source, such as station, in place of default.